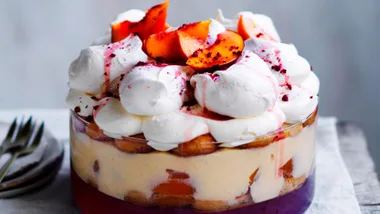
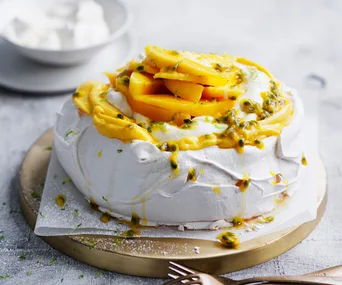
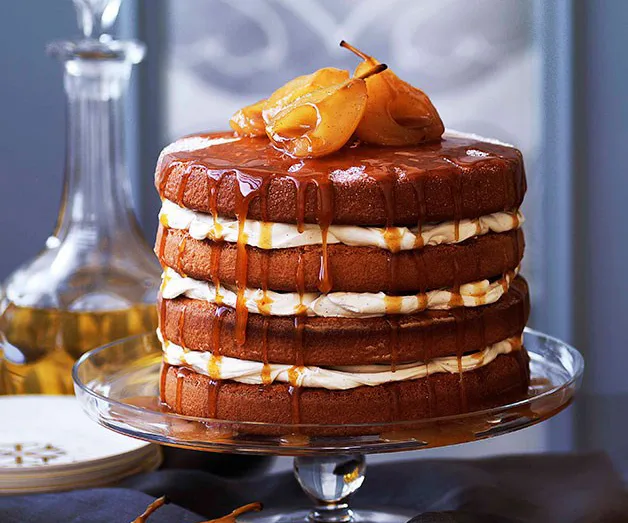
When it comes to baking, a go-to sponge recipe is essential to any repertoire. This one is light and versatile; it can be used for all types of desserts, including layer cakes, sponge fingers for Charlottes and tiramisù, and it’s also great layered with custard in a trifle. The key to this sponge not losing volume is neither under- nor over-whipping the eggwhite, but whipping it to thick, glossy, firm peaks, then gently folding it into the batter and lightly spreading it in the tray. This sponge can made up to a day in advance or stored in the freezer for whenever the call for light, fluffy cake comes.
Step 1. Preheat oven to 160°C fan-forced. Whisk 12 egg yolks with 160gm caster sugar and ½ tsp vanilla extract in an electric mixer on medium speed until very light and creamy. Transfer to a large bowl.
Note: Fan-forced ovens are good for baking sponges, with the fan helping to lift the sponge and giving it more volume; for a conventional oven, bake at 180°C.
Step 2. Clean and dry electric mixer, then whisk 12 eggwhites on medium speed until soft peaks form. With the mixer still running, gradually add 200gm caster sugar until incorporated. Whisk until meringue is glossy and thick with firm peaks (if it’s dull and grainy, it has been over-whipped).
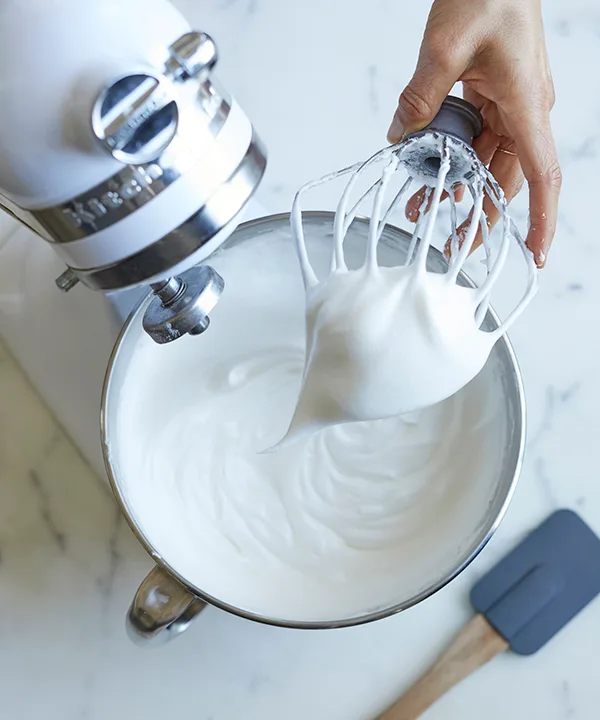
Step 2
(Photo: Con Poulos)Step 3. Sift 240gm plain flour over the yolk mixture in the bowl. Spoon all the meringue on top of the flour, then gently fold in the flour and meringue all at once with a large whisk. Do this carefully to keep the volume; if you are too aggressive or the eggwhite isn’t stiff enough, the mixture will be runny and you’ll end up with a flat sponge; you also won’t be able to pipe sponge fingers.
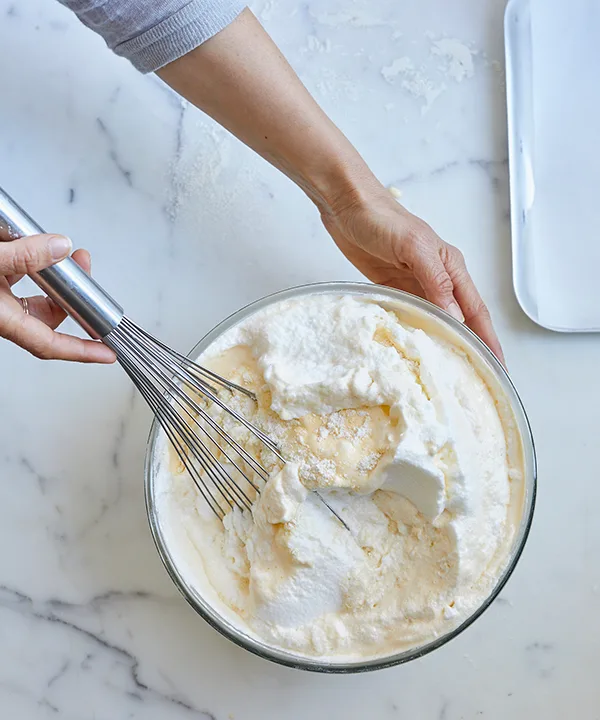
Step 3
(Photo: Con Poulos)Step 4. Gently spread the sponge batter evenly to 1cm thick over two 20cm x 30cm baking trays lined with baking paper (you may have some batter remaining). Bake the sponges, swapping trays halfway through cooking, until golden brown and they spring back when lightly pressed (16-20 minutes).
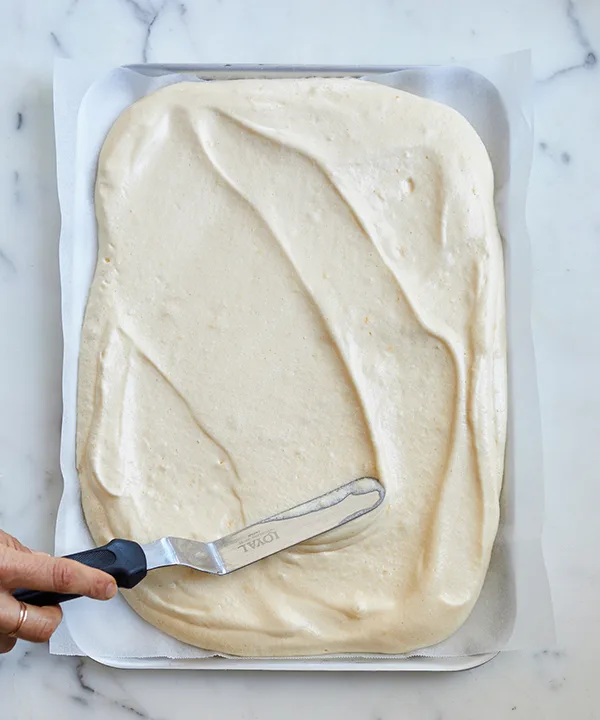
Step 4
(Photo: Con Poulos)Step 5. Lift the sponges with the baking paper from trays, flip over onto another sheet of baking paper and remove the top sheet of paper. Cool the sponge sheets on a wire rack.
Step 6. Cut the sponges to the desired shape and size with a serrated knife. If you’re not using the sponge straight away, store it in an airtight container for a day or in the freezer wrapped in plastic wrap for a month. Thaw at room temperature before use.
Variations
This sponge recipe lends itself well to additional flavourings. Try warm spices such as cinnamon, nutmeg and star anise, or citrus zest, such as orange, lemon and mandarin. If you’re making a layer cake, cut the layers from the sponge sheets and alternate them with the filling – a buttercream or a gelatine-based filling for a firm set – in a metal ring or a cake tin lined with plastic wrap for easy unmoulding. Sponge is true to its name, and soaks up liquid easily; a glug of booze is almost a must in a trifle, but try brushing it with tea, Earl Grey perhaps, for something different.
Sponge fingers
This recipe also works well for making sponge fingers. Transfer the sponge batter to a piping bag fitted with a nozzle size suited to the size of cake you’re making. For example, if you’re making individual Charlottes, a number 12 (12mm) piping nozzle would be apt. The length of the sponge fingers also depends on the size of your mould. Measure the mould first, then pipe the fingers slightly smaller; they’ll expand a little, and can always be trimmed after baking. Dust the piped fingers with icing sugar and bake at 150°C until firm and golden (15 minutes). Transfer them to a wire rack immediately, so they don’t steam and go soggy, and trim as needed.
 Con Poulos
